Generative AI turns a sentence into a finished image in seconds. That speed is exciting, but it also hides a lot of craft. The AI Image Editor creates and transforms images right in your browser, powered by a modern Diffusion-Flow model. Master its four controls and you stop rolling dice — you start directing the outcome.
This guide walks through five practical workflows, from your first generated artwork to deliberate style transfer. Every example image below came straight out of the tool. You can try it here: AI-based image creation and editing.
How the tool works
The editor runs in two modes. In Text-to-Image you describe a picture and the model paints it from noise. In Image-to-Image you upload an existing picture and describe a change; the model keeps the composition and applies a new style or mood. Four dials shape every result: the prompt, the width and height, the sampling steps, and the seed. The workflows below take each one in turn.
Workflow 1: Your first piece with Text-to-Image
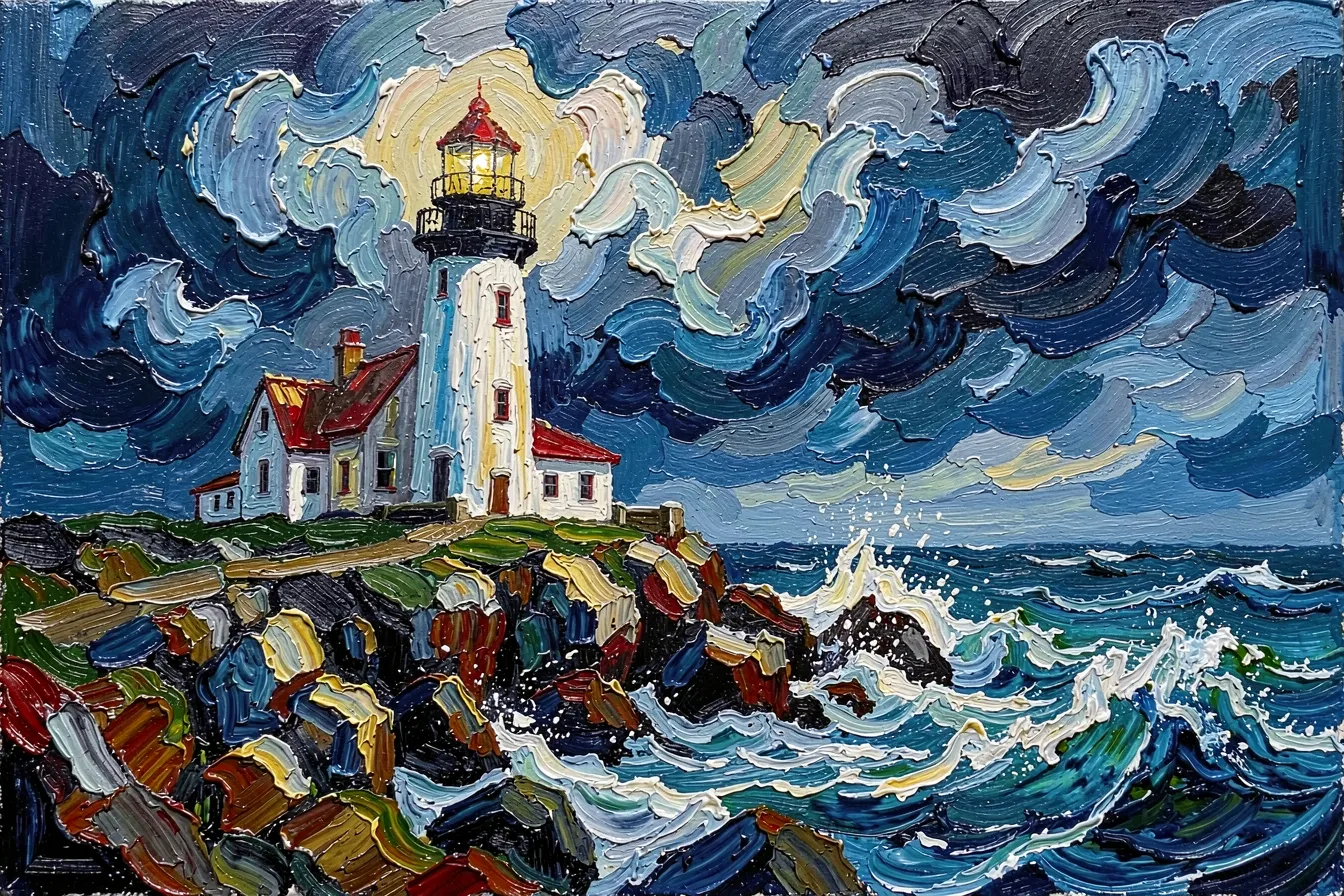
Start simple. Type a description, leave width and height at 1024×1024, sampling steps at 4, and the seed at -1. Click generate. Even a short, precise prompt yields gallery-ready results. The painting below grew from one line: “an expressive oil painting of a lighthouse on a storm-swept coast, bold impasto brushstrokes, dramatic sky, fine art”.
Tip: Write prompts in English — the model learned mostly from English descriptions. Pick a wide format like 1536×1024 for a banner, a tall one for a portrait.
Workflow 2: The prompt decides the art
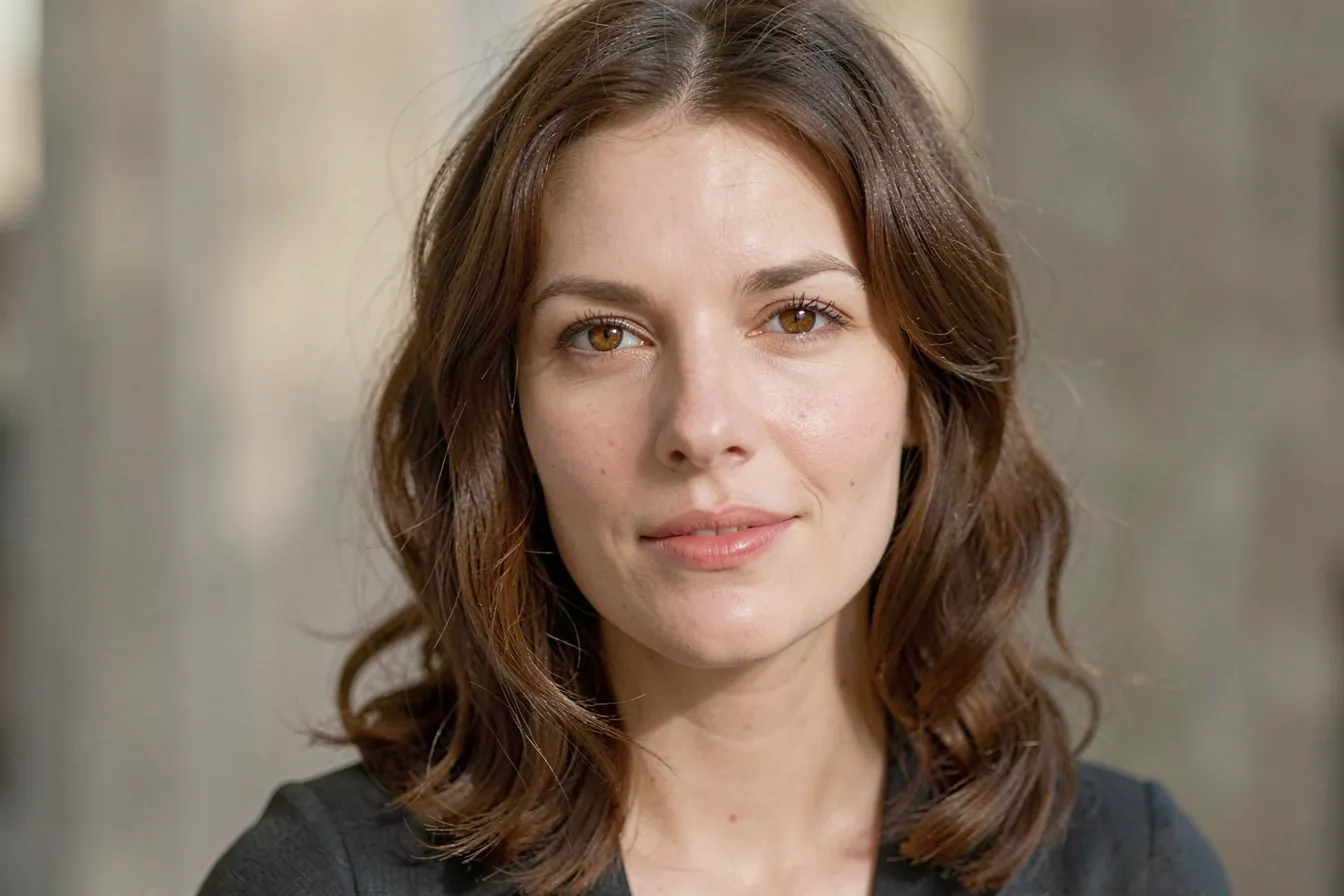
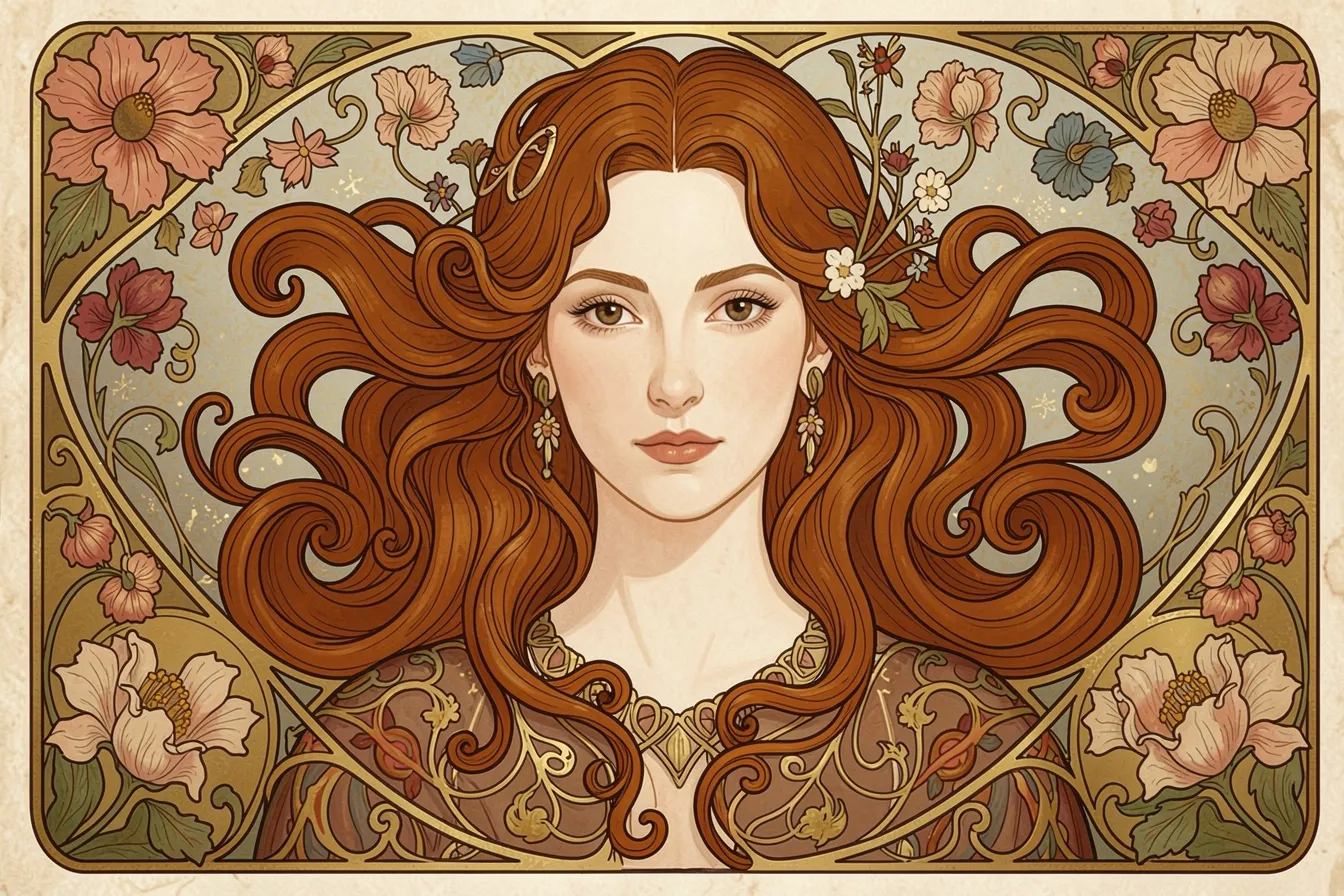
Your description is the biggest lever. A vague prompt returns something generic. A deliberate one names a style, and the model commits to it. We generated the same subject twice, at the identical seed, changing only the wording.
First just “a portrait of a woman”. Then “portrait of a woman in Art Nouveau style, flowing auburn hair, ornamental gold patterns, floral motifs, Alphonse Mucha inspired, decorative fine art print”.
A reliable structure for art prompts:
Subject + medium + art movement or artist + key motifs + palette + composition.
Name what you want, not what you want to avoid. Put the strongest terms first. Reference a movement (Bauhaus, Ukiyo-e, Cubism) or an artist to anchor the whole look.
Workflow 3: Steer variations with the seed
Every image begins from a random noise pattern, and the seed sets that pattern. Leave the seed at -1 and the tool rolls a fresh number each run, so you keep getting new variations. Enter a fixed number and the result becomes repeatable — the same prompt and seed rebuild the same image.
The two pieces below share one prompt (a surreal floating island) but use seeds 12345 and 88888. Same idea, two independent artworks.
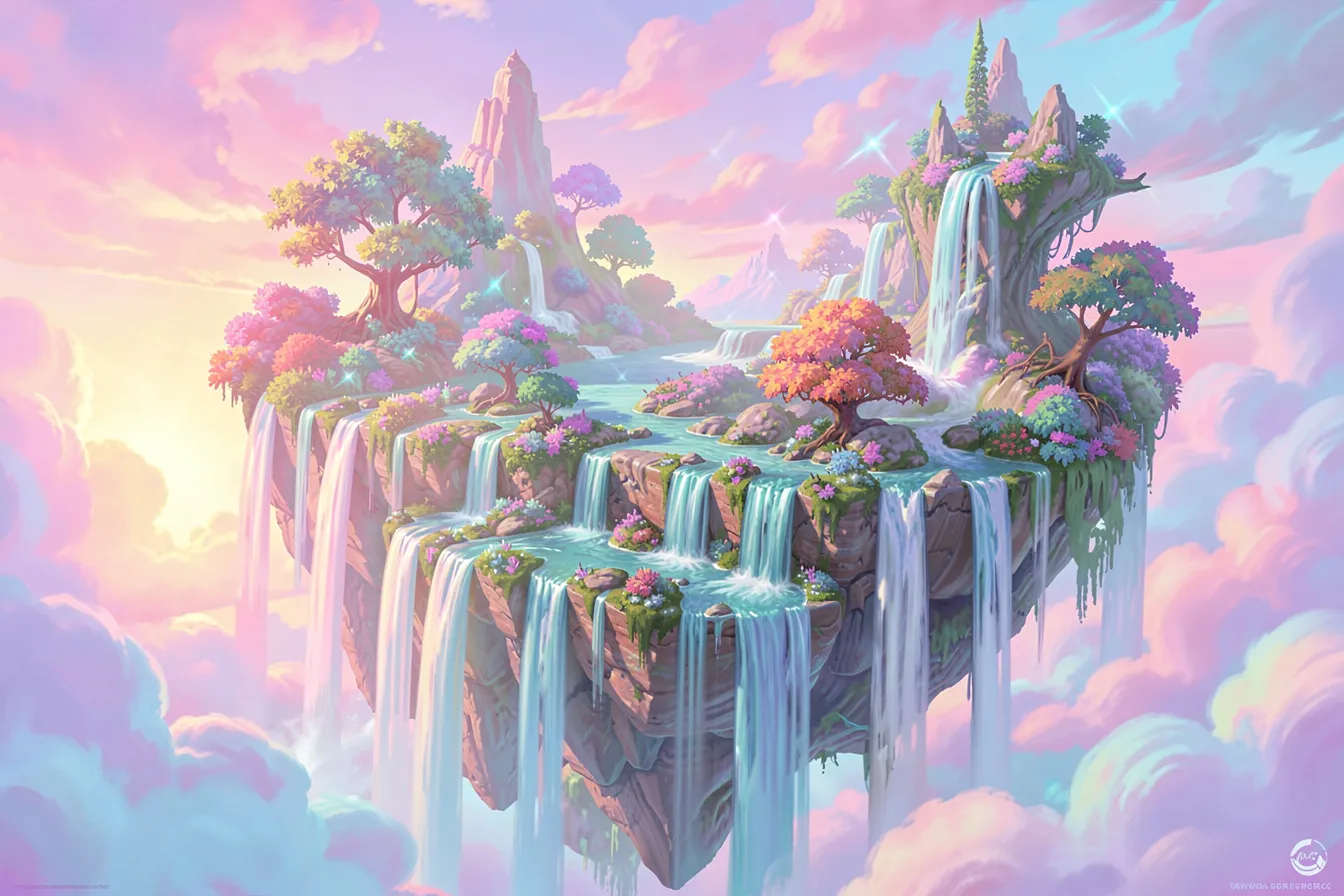
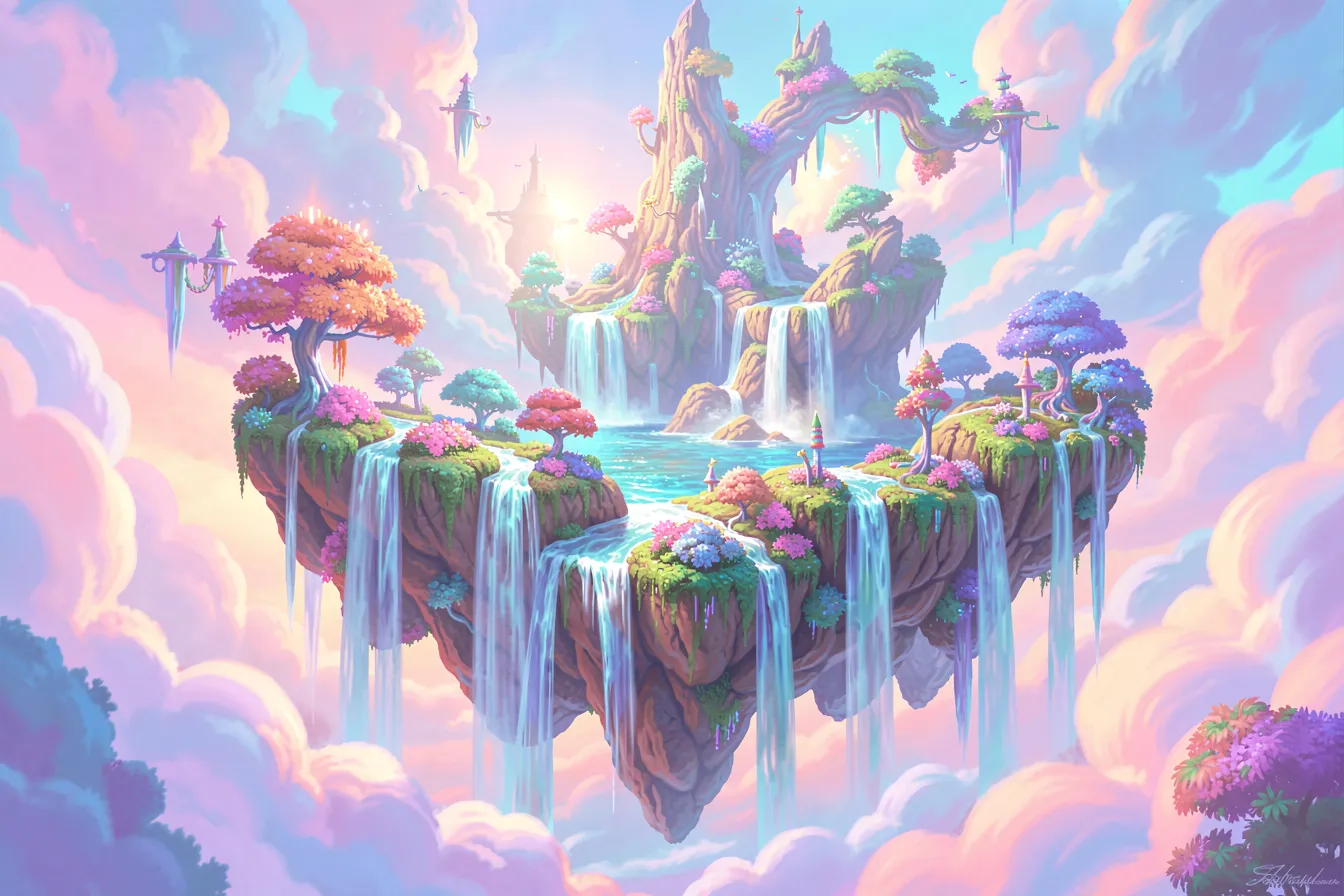
The pro move: when a variation almost works, note its seed and lock it. Then change only a word or two in the prompt (say “dawn” to “dusk”). You tweak one element while the overall composition holds.
Workflow 4: Sampling steps — speed versus finish
The sampling steps set how often the model refines the image. The AI Image Editor runs a turbo model, so it already looks strong at very few steps (the default is 4). More steps add finer detail, but the payoff shrinks as the render time grows.
Both owls use the same prompt and seed, at 2 steps and at 10.
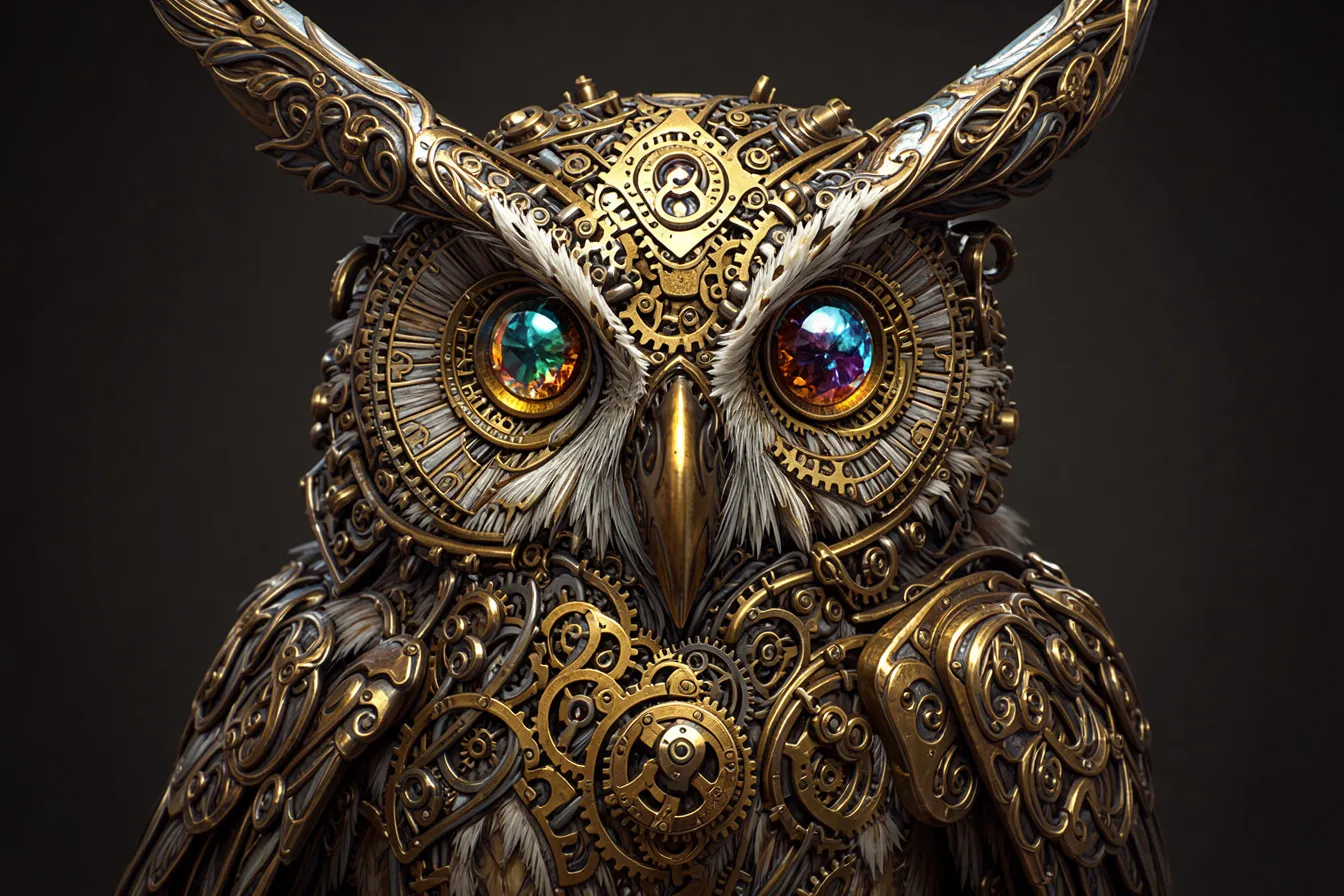
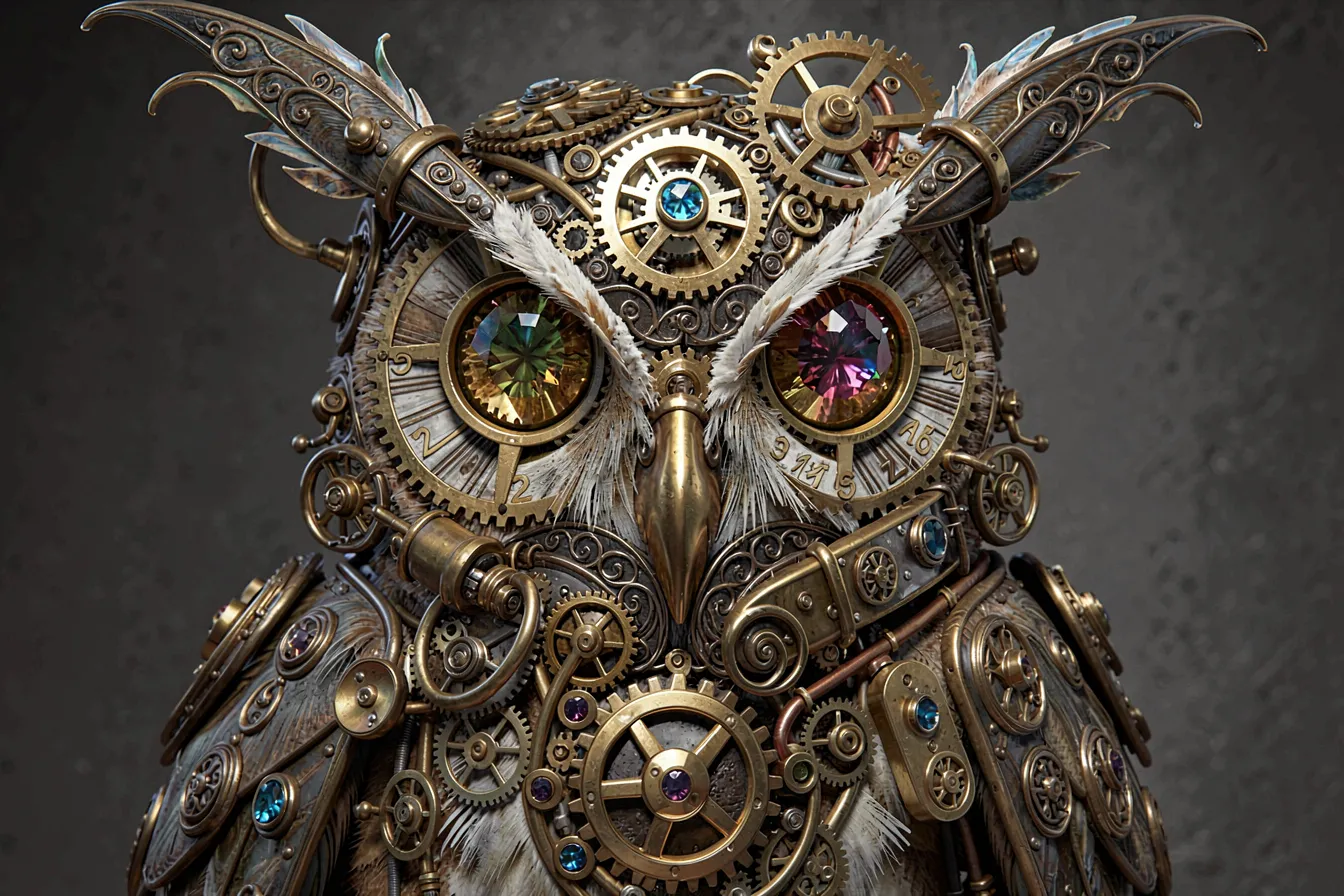
Recommendation: use 4 steps to explore many ideas quickly. Once a favorite emerges, raise it to 8–12 for the final render. Higher values rarely repay the wait on this model.
Workflow 5: Image-to-Image — transform a style, keep the composition
This is where the editor shines for artists. You do not start over. You upload a picture, describe the transformation, and the model rebuilds it in a new style while holding the layout. It is style transfer on demand — turn a photo into a painting, or restyle your own work across movements.
Switch to Image-to-Image, load your source into the image field, write an edit prompt, and generate. Our example starts from a photorealistic canal at sunset. The edit prompt (“the same canal as a vibrant Van Gogh style oil painting, swirling brushstrokes, bold yellows and blues, post-impressionist, thick impasto”) reimagines it as a painting.
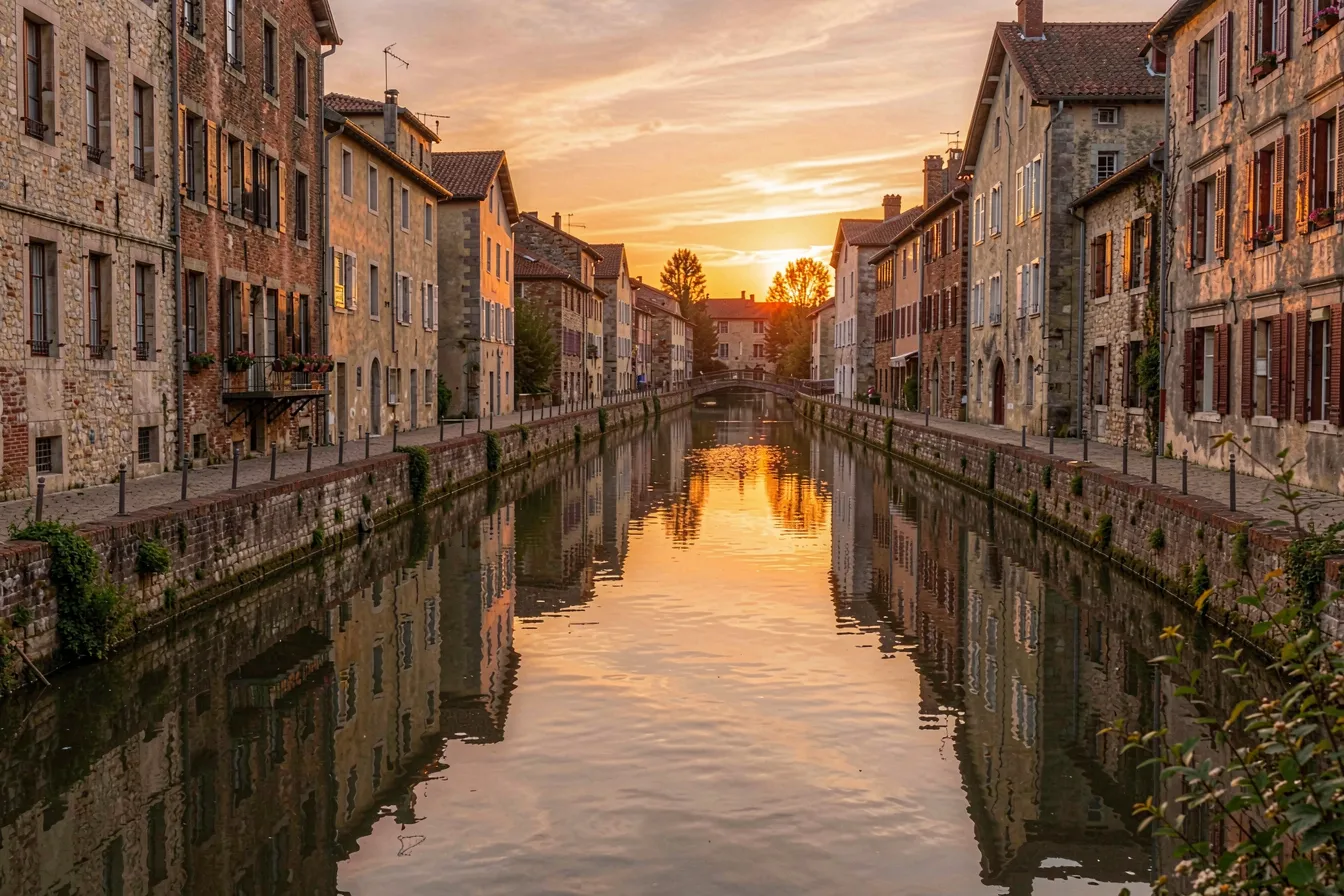
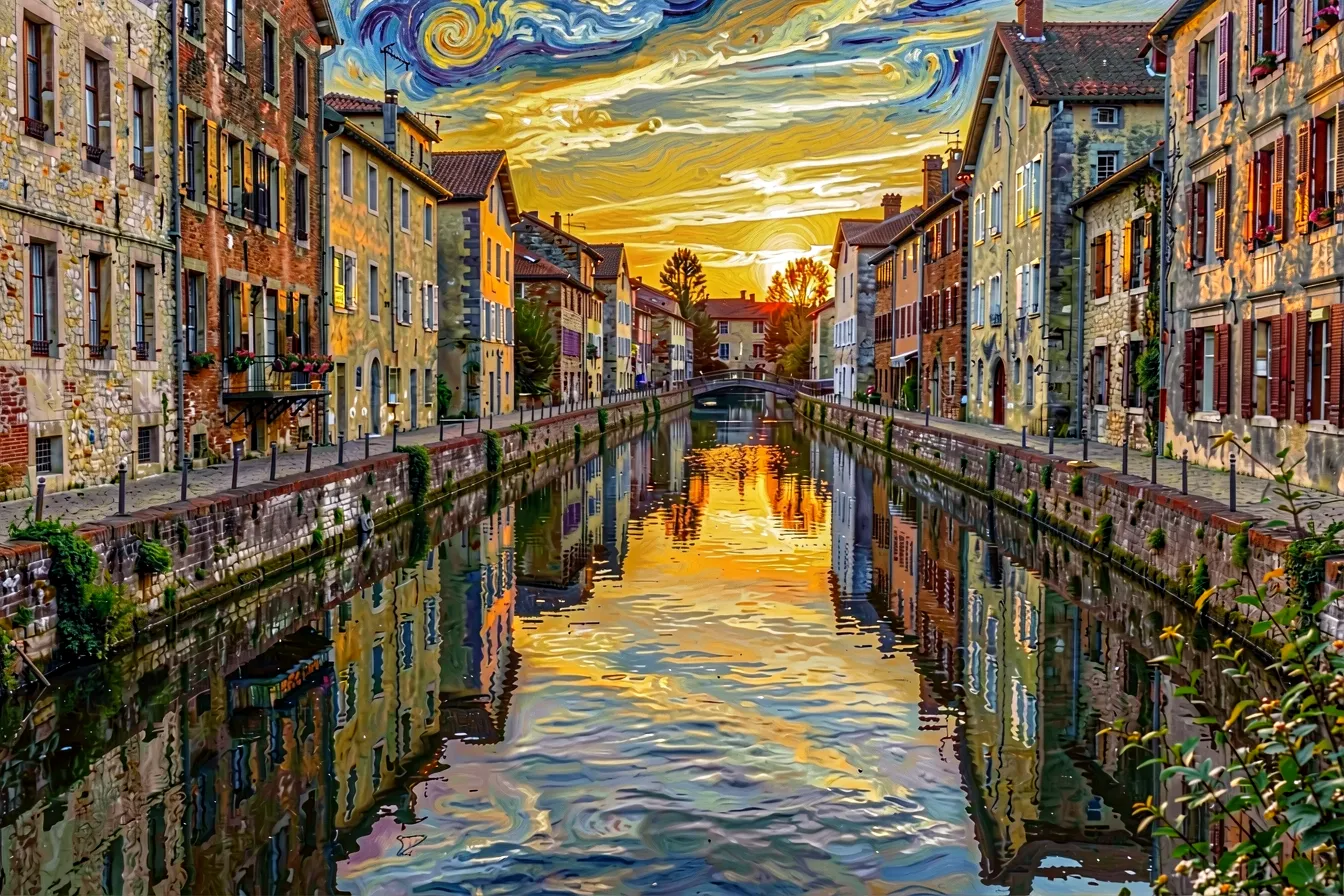
Look closely: the buildings, the bridge, and the mirror-still water stay in place. Only the medium changes. Like a result? Promote it to your new reference image and push it further. Step by step, you converge on the piece you imagined.
Practical tips and limits
- Work iteratively: explore loosely with random seeds, then lock a seed, sharpen the prompt, and raise the steps.
- Change one thing at a time: during fine-tuning, edit a single term so you learn what each word does.
- No real text: like all diffusion models, the editor cannot render legible words or logos — letters turn to gibberish. Add typography later in a graphics app.
- Choose the format first: width and height shape the composition, so set the aspect ratio for your final use before you generate.
Conclusion
The AI Image Editor rewards intent. Structure the prompt, use the seed on purpose, spend steps wisely, and lean on Image-to-Image for transformations — and you move from lucky accidents to a repeatable creative process. Run these five workflows once and the tool stops feeling random.
Explore more AI art and design on ai-art-designer.de →
Images: AI-Designed